
So keen was I to take prints from my test plate, that I neglected to look at the directions in the course text. I went ahead and inked my plate using some scrunched fabric. Without dampening the paper, I took two impressions.
The resulting prints were a little as though a spider had wandered across the paper with dirty feet. However, I have, at least, learned that certain materials work more effectively than others. Not dampening the paper prior to printmaking led to weaker results, but it did at least tell me which materials were most impactful.
The following is the initial print onto dry smooth Zerkall 120gsm printmaking paper. I like this print. At least all items made some impression. The best effects came from the corrugated card, the bubblewrap and the mosaic tiles. I’m excited to move onto developing another plate – this time using a smaller piece of mountboard as the only paper I have that’s heavy enough to take dampening is my Somerset paper, which I have only in smaller pieces than the Zerkall seen below (54cm x 76cm).

I think, with the next plate, I shall attempt a more interesting and cohesive composition, rather than redoing the test plate exercise. I intend to continue with the themes of optimism, movement, balance and flow.
Update:
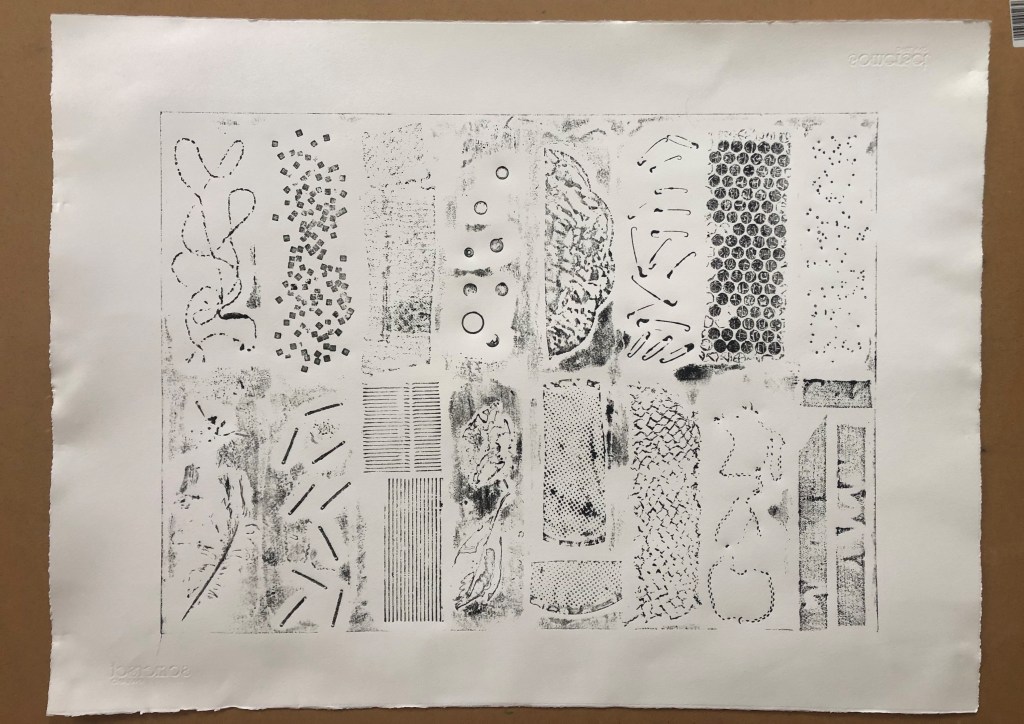
The following day – feeling optimistic- I set out to rectify yesterday’s error and dampen the paper before printing. This was overly ambitious in scale as the Zerkall paper I have is not quite as robust as Somerset, for example. Therefore it buckled somewhat under it’s own sodden weight. However, I took two prints regardless, as follows.:


I’ll wait for the ink to dry before attempting to flatten the paper under some blotting paper and some form of weight.
Update (May 2021)
The above print is a lot clearer than former attempts using lighter weight paper – either dry or damp. I feel that the most successful items used here are the bubble wrap, mosaic tiles, beads, and corrugated card. I shall use these in further print plates for Project 12, the abstract composition.
